Stress and trauma are issues many children have to deal with. Trauma is a real or perceived threat to life or serious injury. Experiences of stress over time and the stress exceeding the child’s ability to cope can lead to big cognitive shifts and behavioral changes. For many of our children, the stressors brought on by the pandemic have been threatening and lasting. Because of this, there is a big question gaining more attention now. Are children able to learn? Or are they in survival mode?
Let me share with you the 5 activities I am adopting in daily life to support my child and the children I work with. Even small changes can take a child out of survival and into learning.
5 Ideas to Support Daily Activity
Firstly, make time for connection. Add an extra 5 minutes before school or at bedtime to talk and connect about your child’s concerns. No answers to tough questions needed. By listening, hugging, and supporting, the change is happening.
Promote body awareness with a sensory based routine before or after school.
- Alerting Sensory Activities – These activities are intense, complex, and use fast paced movement.
- Calming Sensory Activities – These activities are repetitive, familiar, slow paced, rhythmic, and simple.
Increase humor, music, and play time. Whatever is enjoyable, increase it right now. Funny movie nights or music playing while cooking or getting ready for dinner are great options. The goal is to increase laughter, dance, and imagination.
Learn something new. Choose anything new and practice together. My son and I are learning Spanish and archery together, even if we only get to practice 2-3 times a week. It is new, and it is OUR thing.
Support a growth mindset. A growth mindset, simply put, is looking at our capacity for learning and promoting growing into more supportive and positive thinking. There are several websites available to provide everyday ideas to parents to help build a growth mindset. Using positive thinking and language can support our perception of threat.
What Now?
There are tons of resources out there to help start the process. Here are some to help you get started. Check out psychologist, Carol Dweck’s, TED talk on The Power of Believing that You Can Improve. For a new activity, you can try a Big Life Journal. In addition, you can check out some of Dr. Dan Siegel’s advice. He is a Clinical Professor of Psychiatry at the UCLA School of Medicine, and his website has tons of resources.
It’s important to remember that we all need a little help from time to time. And even more so as we continue to move through the pandemic. If you think your child is dealing with stress and trauma and you are struggling with new behavior from them, an occupational therapy evaluation can help. Call MOSAIC today to set up a free screen or evaluation.

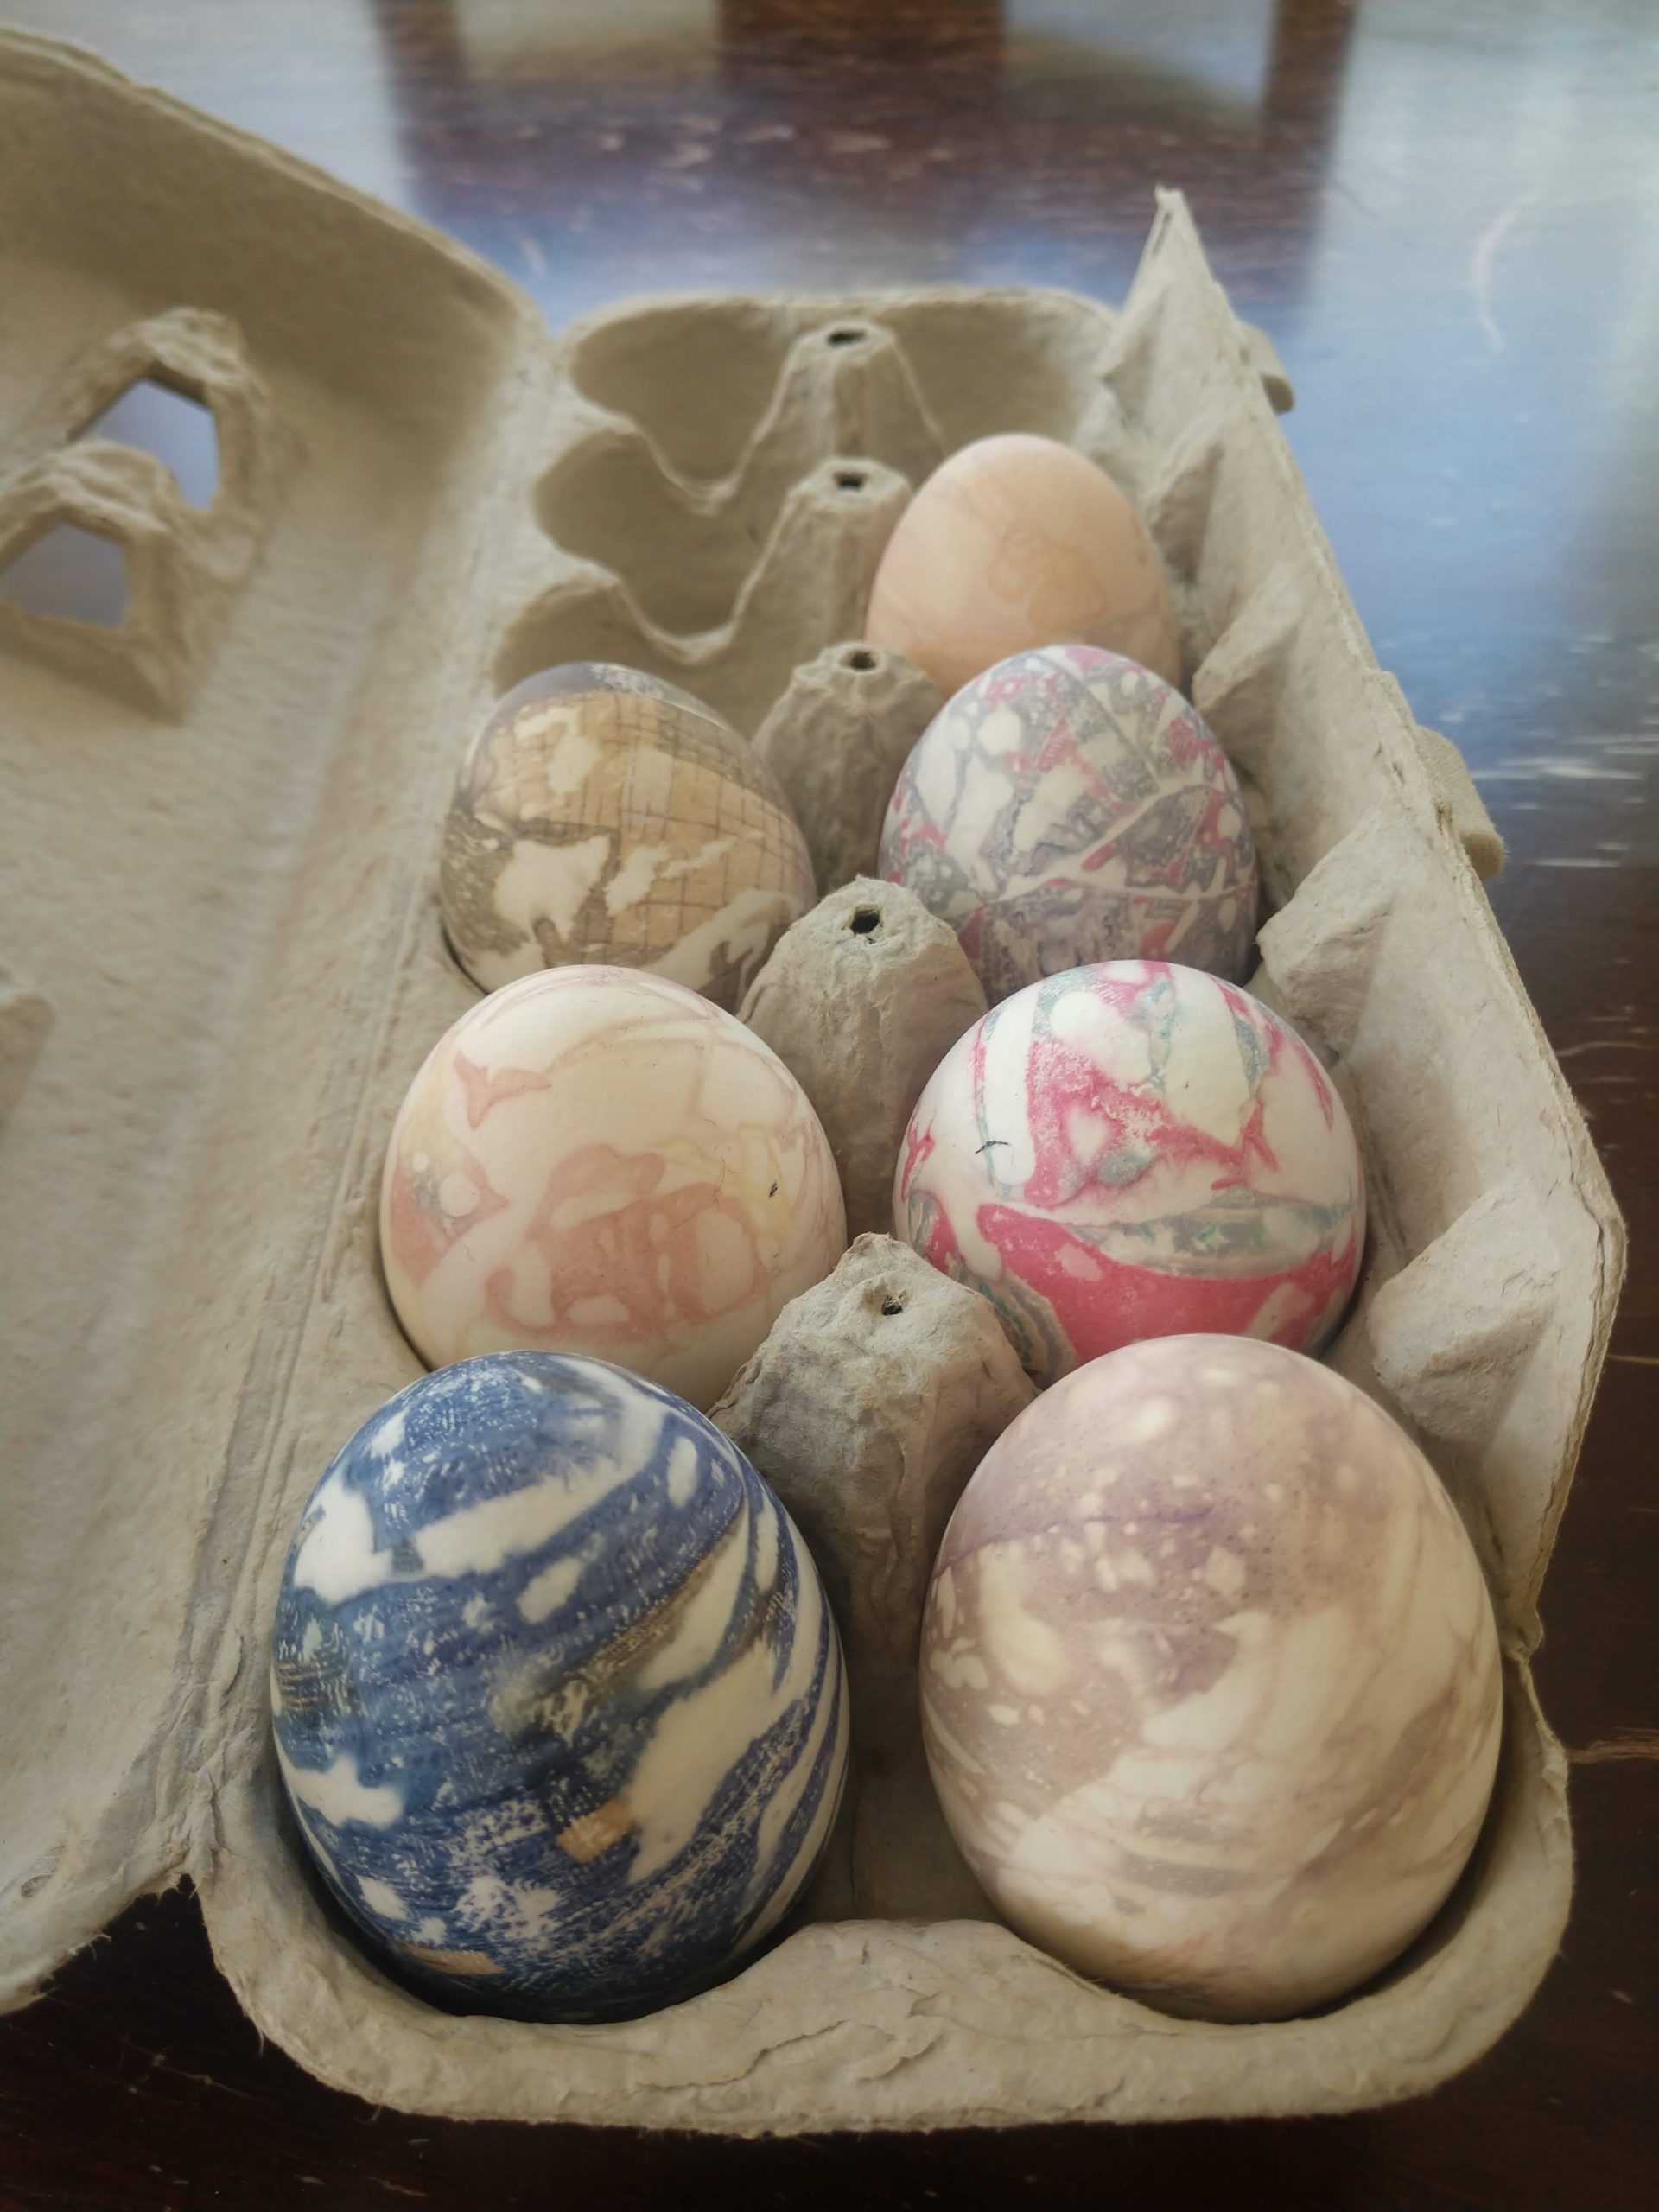
 Here’s a twist on traditional dyed Easter eggs – tie dye Easter eggs! It’s fairly simple to transfer the patterns from 100% silk ties (any 100% silk material works) onto white eggs. Upscale an old sentimental tie, or have fun thrift shopping for inexpensive silk material. This unique technique is certain to provide a set of silk tie dye Easter eggs that stand out against the rest for your Easter basket or annual egg hunt. Here’s how to do it!
 Oreo dirt cups are a simple snack/dessert cup which can be used across a variety of occasions and themes including: birthdays, holidays, springtime, dinosaurs, or excavation. Feel free to get creative! Have your kids help. Cooking provides opportunities for kids to work on reading, math, and direction following. And it can provide a sensory experience if they can do some of the work with their hands.
 Literacy development in the preschool and elementary school years sets the foundation for reading and writing success in school. Children begin formal instruction in reading and writing once they begin kindergarten. Each grade builds on skills learned in the previous grade. Children who struggle in the early grades fall progressively further behind their peers as they advance grades. Early identification of these at risk readers allows for explicit instruction in the sounds that make up words, the sounds the individual letters make, and blending of the sounds to make a word. There are several warning signs a child may exhibit if they are struggling with reading in the early school years.
 Speech-language pathology, otherwise known as speech therapy, is a highly misunderstood concept. Sure, we have all likely heard about it. But unless we, or someone we know, directly benefits from speech therapy, our understanding will likely be misconstrued. This article will serve to debunk the most common speech therapy myths.
 Cesarean sections, or C-sections, are one of the most common surgeries performed. Twenty two percent of women in the United States have undergone one. Some C-sections are planned and scheduled, and some are performed due to complications that occur during labor. A C-section is a major abdominal surgery. Yet, most women do not receive any education or support when it comes to recovering from this surgery. I am here to encourage women who are in their childbearing years (or even after!) to see a pelvic floor physical therapist after giving birth, whether C-section or vaginal. It is common to see a physical therapist after knee replacements, hip replacements, ACL repairs, etc. So let’s make it common to see a physical therapist after a C-section!